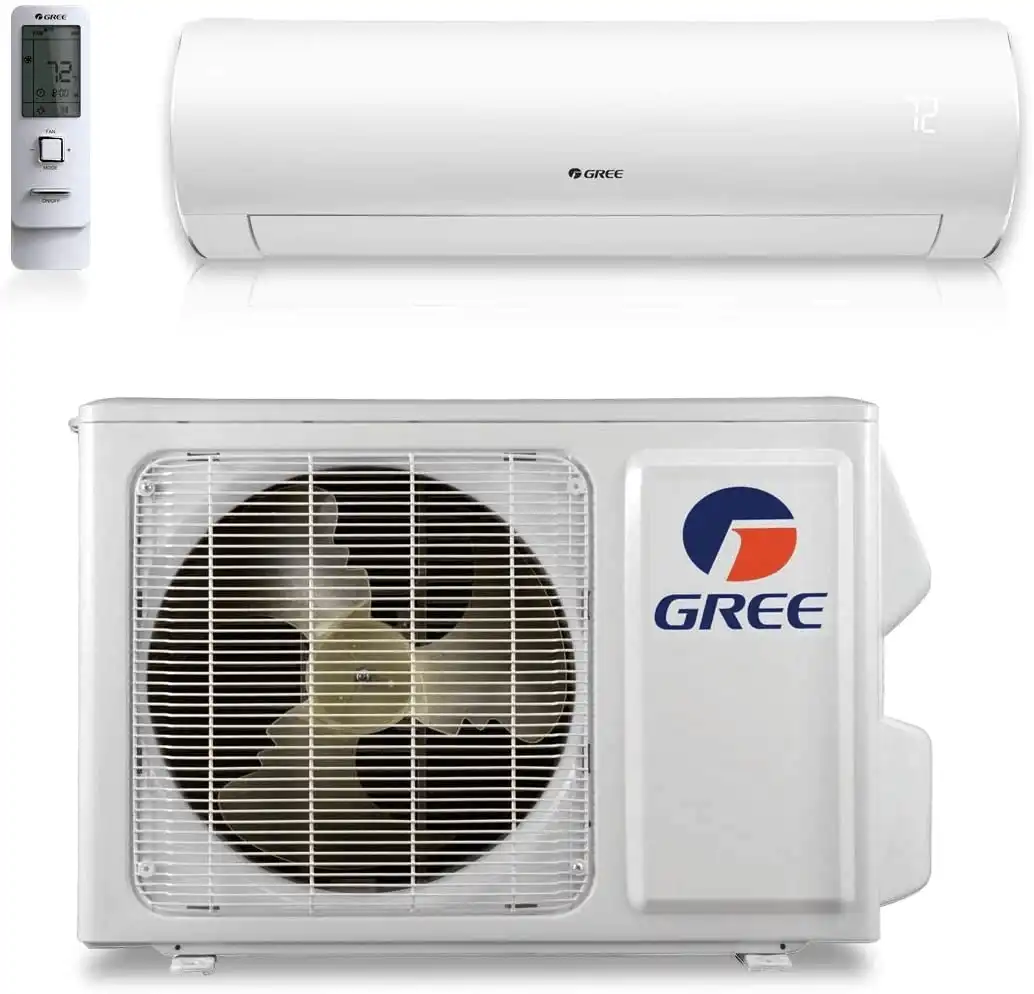
Tools required before you install a GREE
R410a flaring tool
Clamp-on amp meter
Wrenches (std / adj / torque)
Vacuum pump
Refrigerant scale
Micron gauge
Manifold & gauges
Drill & drill bits
Hole saw
Pipe cutter
Level
Screwdrivers
Important: When working with any system, always wear your safety goggles & gloves.
Have you seen our other GREE training videos? View Library
Best Practices
Unit Placement
Follow clearance guidelines on indoor & outdoor units for airflow & servicing
Include space for condensate drainage
Anchor units properly to prevent vibration or malfunction
Pitch condensate drain tubing downward for proper drainage
Piping
Use only correct line set size as determined by indoor unit
Use only copper refrigerant piping
Insulate both refrigerant lines from each other
For flare connections, use a 45° flaring tool
All pipe length must be within the maximum and minimum allowance
Prevent loops, sagging or bending in the piping
Wiring
Use only 14/4 STRANDED wire - Never use wire nuts or splices
L1 & L2 are polarity sensitive
Use spade connectors on all terminal connections
Use only a dedicated electrical circuit
Always GROUND indoor & outdoor unit
Surge protector HIGHLY recommended
Charing
Test refrigerant lines for leaks by pressurizing with nitrogen to 500 P.S.I.
While under pressure, use a leak detection solution to test for all leaks at all flare connections
Use only approved evacuation hose & vacuum pump oil for proper evacuation and leak testing: Evacuate to less than 500 microns and hold for 30 minutes
If refrigerant is added, use electronic scale and weigh in precise amount
Open service valves prior to energizing unit
WARRANTY
ONLY VALID IF SYSTEM IS INSTALLED BY A LICENSED CONTRACTOR.
Installation must comply with applicable local & national codes


