
How to Deep-Clean Moldy Ductless Mini-Split Units
When it comes to ensuring optimal performance and air quality for ductless mini-split systems, proper cleaning and maintenance are non-negotiable. Mold and mildew buildup in these systems can lead to unpleasant odors, reduced efficiency, and potentially costly repairs. For HVAC contractors committed to delivering reliable solutions to their clients, mastering the deep-cleaning process for these units is essential.
This guide, based on >GREE Comfort's field-tested maintenance practices, walks you through the proper procedure to deep-clean moldy ductless mini-splits. By following these steps, you can eliminate odors, prevent system strain, and extend the lifespan of the equipment. Contractors can also review GREE's Instructional Videos for visual guidance.
Understanding the Problem: Mold and Mildew in Mini-Split Units
Mold and mildew accumulation in mini-split systems is a common issue, especially in environments with high humidity. Accumulated dirt, moisture, and organic matter provide the perfect breeding ground for fungi, resulting in that signature "musty" or "milky" odor homeowners dread. Left untreated, this buildup can:
- Impair airflow efficiency.
- Cause motor strain due to dirty blower wheels.
- Spread allergens or contaminants through the air.
- Lead to premature component failure.
Recognizing the signs of mold - such as visible residue, musty smells, or condensation buildup - is the first step in addressing the issue effectively.
Tools and Materials You'll Need
Before starting the cleaning process, ensure you have the following tools and supplies on hand:
- Rinse sprayer or pump sprayer: Use a low-pressure coil cleaning system (under 150 psi) designed for HVAC equipment to avoid damaging fins.
- A cleaning bib system to contain water and debris.
- An HVAC coil/disinfectant cleaner: Use an EPA-registered HVAC coil/disinfectant cleaner (check compatibility with GREE units). Avoid unapproved chemicals that may damage coils or plastics.
- A small screwdriver for accessing components.
- A bucket of wastewater.
- A microfiber cloth or rag.
- Personal protective equipment (gloves, safety goggles, etc.).
Having the right tools ensures a thorough and efficient cleaning process without damaging the system.
Step-By-Step Guide to Deep-Cleaning
Step 1: Prepare the Unit for Cleaning
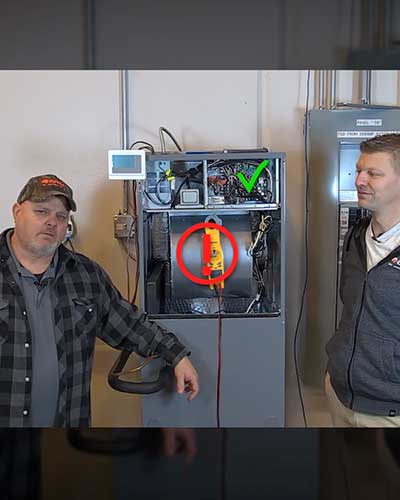
Start by shutting off power at the disconnect per NEC 440.14, applying lockout/tagout, and confirming with a meter before opening panels. Locate the mini-split system and inspect it for visible mold, dirt, or condensation. Remove the front cover of the unit to access internal components such as the blower wheel, coil, and louvers.
Begin by removing screws to detach the electrical compartment cover, left and right side panels, and louvers. Be mindful of any clips or springs, ensuring they are handled carefully to avoid damage.
Step 2: Clean the Blower Wheel
The blower wheel is often the main culprit behind odors and inefficiency due to mold and dirt buildup. Follow these steps:
- Apply an EPA-approved disinfectant cleaner to the blower wheel, ensuring coverage of all fins and surfaces.
- Use a screwdriver to move the fins slightly, allowing the cleaning solution to reach hidden areas.
- Optionally, spin the blower wheel gently to spread the cleaner evenly.
- Allow the disinfectant to sit for a few minutes to break down grime.
Step 3: Rinse the Components
Rinse gently using a coil rinse sprayer or pump sprayer. Direct water into a cleaning bib/drain bucket to capture wastewater. Ensure you remove all cleaning solution and dirt without leaving moisture behind that could encourage future mold growth.
Repeat this cleaning and rinsing process for other components such as the louvers and filters. Properly rinse and dry each part before reassembling.
Step 4: Inspect and Clean the Coil
While the coil may not always harbor significant dirt or mold, it should still be inspected for sheen or moisture buildup. If needed, lightly spray coil with coil-safe cleaner, brushing along fin direction to prevent bending.
Step 5: Reassemble and Test
Once all components are cleaned and dried, reassemble the unit carefully. Double-check that all screws, clips, and covers are secured in place, and verify condensate drain pan and line are clear to prevent future mold. Power the unit back on and test its operation to ensure airflow is restored and odors are eliminated.
Expert Insights for HVAC Contractors
Addressing Common Issues
During the cleaning process, it's important to identify and address potential issues that could lead to recurring mold problems, such as:
- Condensation Drips: Ensure the drainage system is functioning properly per IPC §314 to prevent water accumulation. See GREE Instructional Videos for proper drain cleaning.
- Component Wear: Check for worn parts like blower motors or fan blades that could exacerbate strain on the system.
- Frequency of Cleaning: Recommend regular deep-cleaning intervals based on the client's environment and system usage, per GREE Comfort maintenance guidelines.
Avoiding Long-Term Problems
A buildup of dirt on the blower wheel can lead to increased strain on the motor, shortening its lifespan and impacting overall performance. In addition, failure to fully disinfect surfaces could result in lingering odors or rapid mold regrowth.
Client Education
Educating your clients on proper maintenance - such as cleaning filters regularly and monitoring for early signs of mold - can help them maintain their systems between professional servicing. This not only extends the life of the equipment but also reinforces your role as a trusted service provider. Direct clients to the Contractor Locator for professional servicing.
Key Takeaways
- Why Clean Mini-Split Units: Mold and dirt buildup can cause odors, reduce performance, and strain system components.
- Critical Areas to Clean: Focus on the blower wheel, coil, louvers, and filters for a thorough rejuvenation.
- Tools You Need: EPA-approved coil/disinfectant cleaner, bib kit, low-pressure sprayer, screwdrivers, PPE.
- Step-by-Step Process: Disassemble, disinfect, rinse, and reassemble the unit carefully to ensure cleanliness and functionality.
- Prevent Recurrence: Address underlying causes like condensation issues and client maintenance habits.
- Client Benefits: Educating homeowners on regular cleaning schedules improves system longevity and air quality.
Conclusion
As an HVAC contractor, mastering the art of deep-cleaning ductless mini-split units is a vital skill that not only ensures system longevity but also enhances your reputation for delivering exceptional service. Moldy or inefficient systems can quickly turn into client frustrations, but with the right tools and techniques, you can turn problems into solutions.
A clean unit not only smells better but also operates more efficiently and reliably, providing the comfort and peace of mind your clients deserve. By implementing these cleaning steps into your routine servicing, you'll set yourself apart as a trusted expert in the HVAC industry, one clean blower wheel at a time.
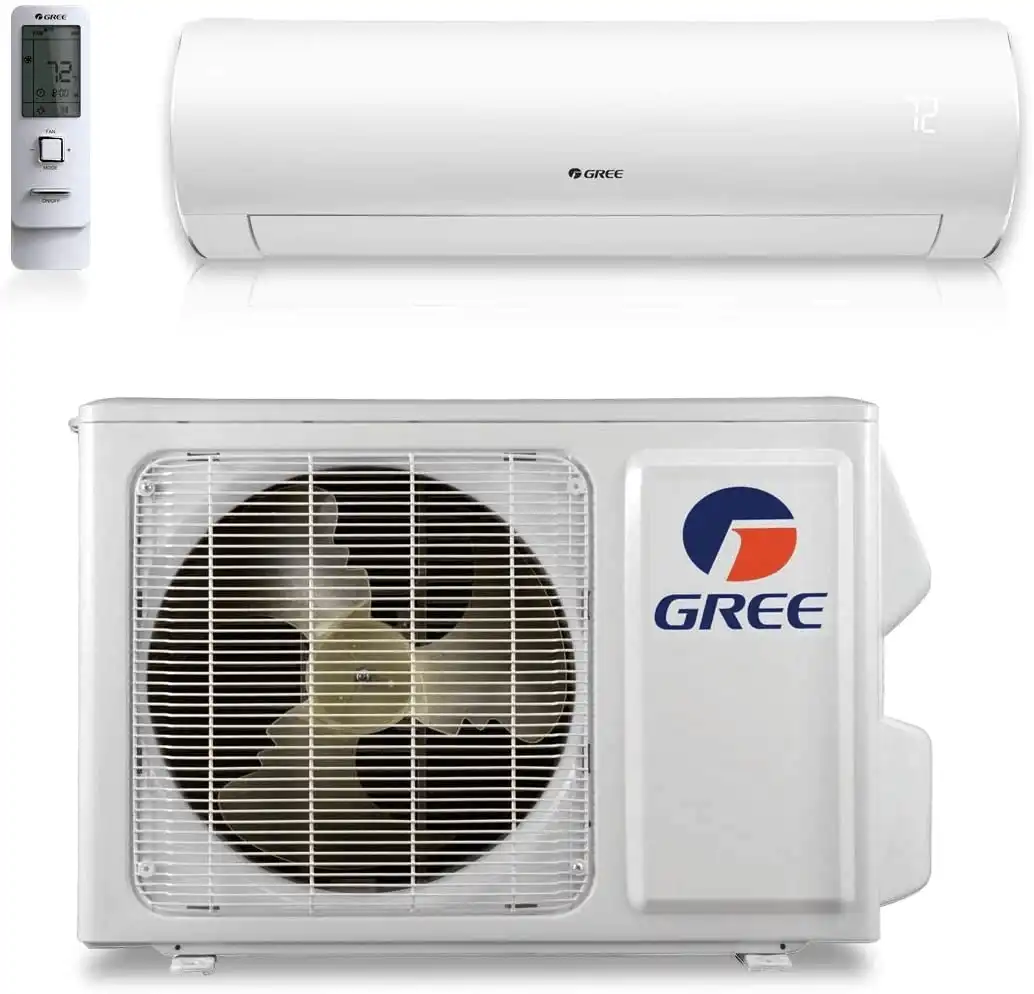
GREE Comfort mini-splits, like the VIREO+ and SAPPHIRE series, are designed for easy maintenance access, simplifying cleaning and service. Contractors can access resources via the GREE's System Builder App and FAQ.